Marie Callender’s Pie Crust Instructions: A Comprehensive Guide
Discover the secrets to perfectly baked Marie Callender’s pies! This guide details thawing, baking times, troubleshooting, and even recreating that famous flaky crust at home.
Understanding Marie Callender’s Pie Crust
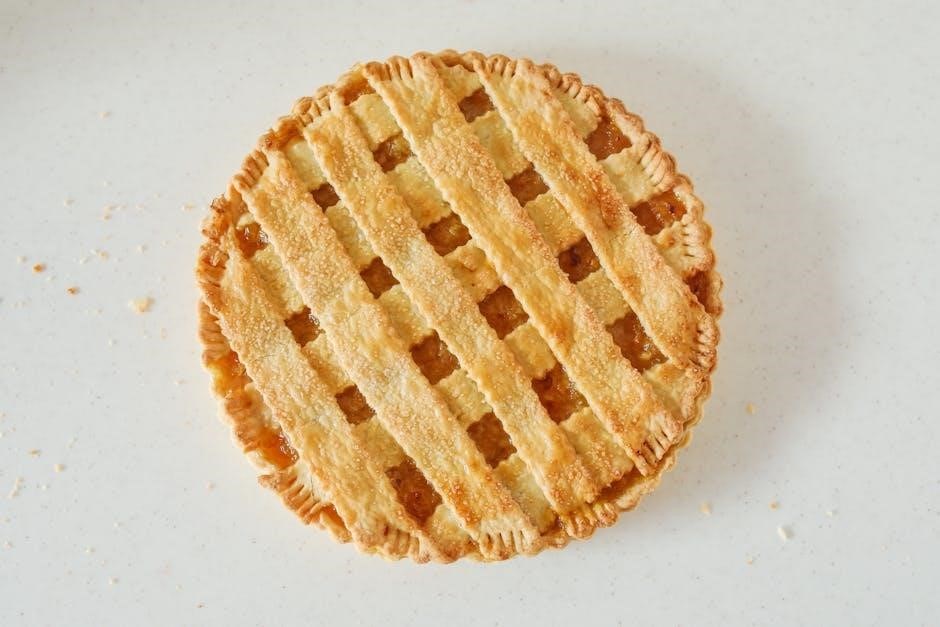
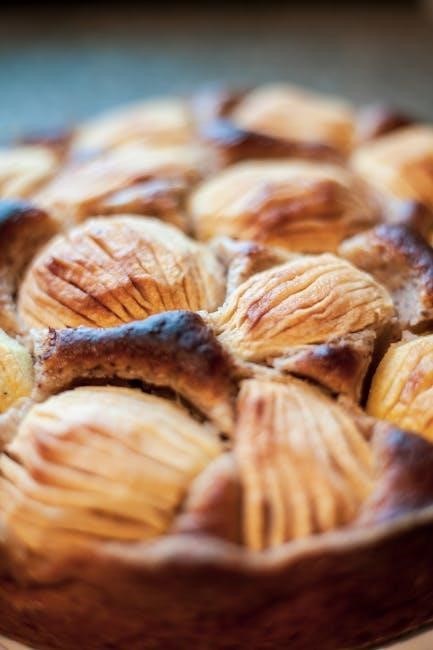
Marie Callender’s frozen pies are renowned for their consistently delicious, flaky crusts – a cornerstone of their comforting appeal. The crust isn’t simply a vessel for the filling; it’s a carefully formulated blend designed for optimal texture and flavor. It’s often described as buttery and tender, achieving a golden-brown hue when baked correctly.
The success lies in the ingredients and the manufacturing process, aiming for a balance between flakiness and structural integrity. Many online discussions focus on replicating this quality at home, highlighting its importance to the overall pie experience. Whether it’s a classic apple, savory chicken pot pie, or a decadent chocolate creation, the crust elevates each offering. Understanding its characteristics is key to successful baking and enjoyment.
Types of Marie Callender’s Frozen Pies
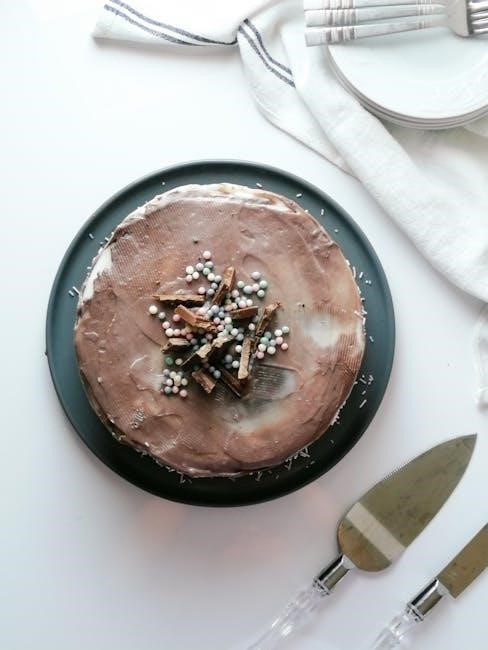
Marie Callender’s offers a diverse selection of frozen pies, each featuring their signature crust. Popular choices include the classic Chicken Pot Pie, a comforting staple, and the rich, nutty Pecan Pie, often featured in viral trifle recipes utilizing the crust. Their Lemon Pie boasts a sweet, toasted meringue topping, while Chocolate Pie delivers a decadent experience.
Beyond these, you’ll find Apple Pie, Cherry Pie, and seasonal varieties. The range extends to complete meals like Lasagna & Meat Sauce, demonstrating the brand’s versatility. Regardless of the filling, the consistent quality of the crust remains a defining characteristic, making it a favorite for convenient, home-style desserts and dinners.
Decoding the Package Instructions
Marie Callender’s pie packaging provides crucial baking guidance. Instructions typically detail oven temperature – usually 375°F – and baking time, varying based on pie type; Pay close attention to whether the pie requires baking from thawed or frozen; this significantly impacts the duration. The package will specify if a baking sheet is recommended to catch any potential filling overflow.
Understanding these instructions is key to achieving a golden-brown crust and a fully heated filling. Some pies may suggest covering the crust edges during initial baking to prevent excessive browning. Always refer to the specific instructions on your pie’s packaging, as variations exist between different Marie Callender’s products.
Preparing to Bake: Essential Steps
Before baking, ensure proper thawing (if needed), preheat your oven accurately, and select appropriate bakeware for optimal results and even heating.
Thawing Considerations
Marie Callender’s pies often benefit from partial thawing before baking, though baking from frozen is possible (discussed later). For best results, allow the pie to thaw in the refrigerator for several hours – ideally overnight. This ensures the filling is adequately chilled and the crust thaws evenly, promoting a more consistent bake.
However, avoid completely thawing the pie, as a fully thawed crust can become soggy. A slightly firm, but not rock-solid, crust is ideal. If you’re short on time, a brief period at room temperature can help soften the crust, but monitor closely to prevent excessive thawing. Remember, thawing impacts baking time; a partially thawed pie will require less oven time than one baked directly from frozen.
Oven Temperature and Rack Position
Generally, Marie Callender’s pies are best baked at 375°F (190°C). However, always double-check the specific instructions printed on the pie’s packaging, as slight variations may exist depending on the pie type. Positioning the pie on the center rack of your oven is crucial for even heat distribution.
This ensures the crust bakes uniformly and the filling heats through properly. Avoid placing the pie too close to the top or bottom heating elements, as this can lead to burning or an underbaked center. If you notice the crust browning too quickly, you can lower the oven temperature slightly or use crust shielding techniques (detailed in a later section).
Recommended Bakeware
For optimal baking of Marie Callender’s frozen pies, a standard 9-inch pie plate is generally recommended. Glass or aluminum pie plates both work well, though glass allows for visual monitoring of the crust’s browning. Avoid using dark-colored pie plates, as they absorb more heat and can cause the crust to burn before the filling is fully heated.
A rimmed baking sheet placed under the pie plate is highly advisable. This will catch any potential filling spills during baking, preventing a messy oven cleanup. Ensure the baking sheet is large enough to fully contain the pie plate. Using quality bakeware contributes significantly to achieving a beautifully baked pie!
Baking Instructions: Detailed Breakdown
Follow these precise steps for a golden, flaky crust and a perfectly heated filling. We’ll cover standard and convection oven methods, plus baking from frozen!
Standard Oven Baking
For consistently delicious results with your Marie Callender’s frozen pie, preheating your oven is crucial. Set the temperature to 375°F (190°C). Place the frozen pie directly onto the center rack – no need to thaw beforehand! Baking time will vary depending on the pie variety, but generally, allow approximately 60-75 minutes for most pies, like chicken pot pie or pecan pie.
To ensure even baking, avoid opening the oven door frequently during the process. Around the 45-minute mark, check the crust’s color. If it begins to brown too quickly, you can lightly tent the edges with aluminum foil to prevent burning. The pie is ready when the filling is bubbling and the crust is golden brown. Let it cool completely before serving for the best texture and flavor!
Convection Oven Baking Adjustments
If you’re utilizing a convection oven to bake your Marie Callender’s frozen pie, a slight temperature reduction is recommended for optimal results. Lower the oven temperature by 25°F (approximately 15°C), setting it to 350°F (175°C). Convection ovens circulate hot air, leading to faster and more even cooking.
Consequently, reduce the baking time by approximately 10-15 minutes compared to standard oven baking. Begin checking for doneness around the 50-60 minute mark. Monitor the crust closely, as convection ovens can sometimes cause it to brown more rapidly. As with standard baking, ensure the filling is bubbling and the crust is golden brown before removing from the oven. Allow ample cooling time before slicing and enjoying!
Baking from Frozen: Is it Possible?
Yes, baking a Marie Callender’s frozen pie directly from the freezer is possible, though it requires a longer baking time. It’s a convenient option when you haven’t planned ahead for thawing. Increase the initial baking time by approximately 15-20 minutes compared to the instructions for a thawed pie.
Therefore, expect a total baking time of around 75-90 minutes at 375°F (190°C). Cover the edges of the crust with foil or a pie shield during the first half of the baking period to prevent excessive browning. Ensure the filling is bubbling vigorously and the crust is golden brown throughout before removing it from the oven. Patience is key when baking from frozen!
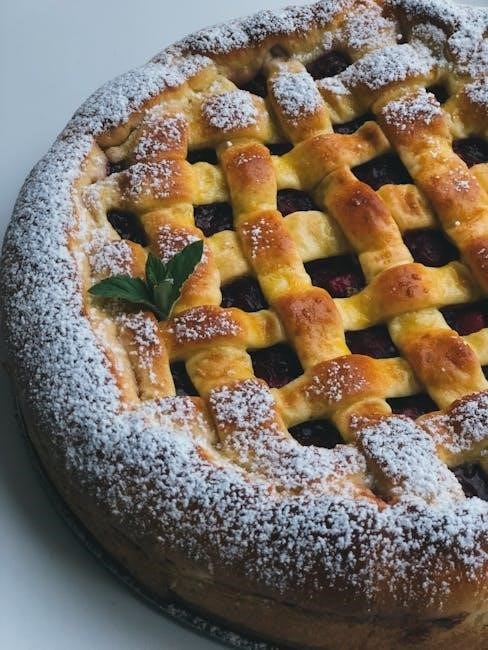
Achieving a Golden-Brown Crust
Maximize color and flakiness! Shielding, brushings with milk or egg wash, and careful monitoring are vital for a beautifully browned, perfectly crisp Marie Callender’s crust.
Crust Shielding Techniques
Preventing excessive browning is crucial for a visually appealing and evenly baked pie. Marie Callender’s pies, like many, can benefit from crust shielding, especially during the initial stages of baking. This involves covering the edges of the crust – typically with strips of aluminum foil – to slow down browning.
These foil shields protect the delicate crust edges from burning before the filling is fully heated through. You can apply the foil during the last 15-20 minutes of baking if the crust is already browning too quickly. Alternatively, specialized pie crust shields, available for purchase, offer a reusable and more precise solution. Remember to remove the shields towards the end of baking to allow the entire crust to achieve a uniform golden-brown hue.
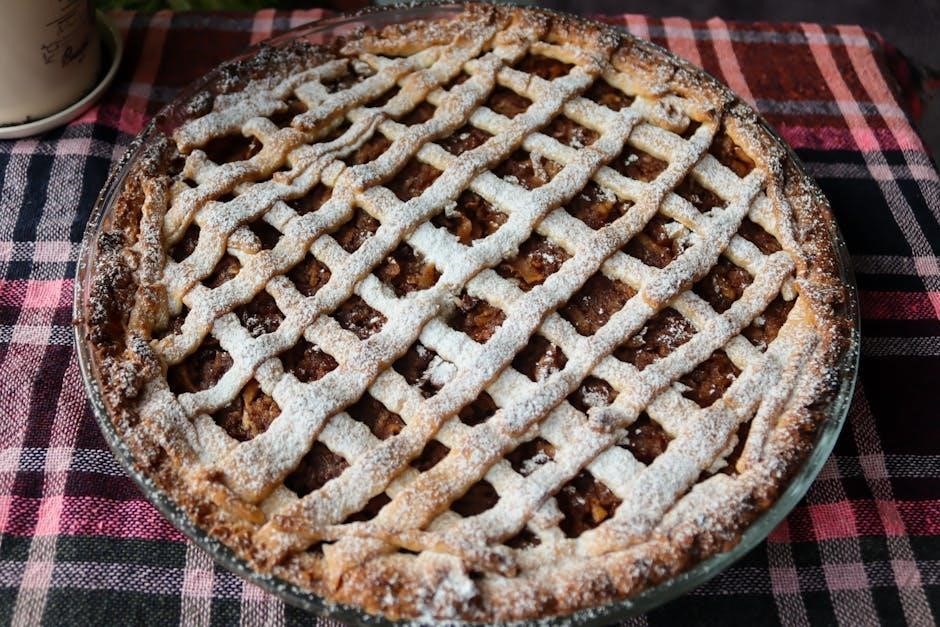
Brushings for Enhanced Color
Achieving a beautiful, golden-brown crust often requires a little extra help beyond just oven temperature. Brushing the pie crust with a simple wash before baking significantly enhances its color and adds a subtle sheen. The most common wash is an egg wash – a mixture of one egg yolk and a tablespoon of water, lightly beaten.
Alternatively, a milk or cream wash can also be used, though it provides a less intense color. Apply the wash evenly with a pastry brush, avoiding drips that could create uneven browning. For a touch of sweetness and extra sparkle, sprinkle a small amount of granulated sugar over the brushed crust before baking. This technique mimics the professional finish seen in Marie Callender’s pies.
Monitoring Baking Progress
Consistent monitoring is crucial for a perfectly baked Marie Callender’s-style pie. Begin checking the pie about halfway through the recommended baking time. Look for a golden-brown color on the crust – this is your primary visual cue. Gently rotate the pie halfway through baking to ensure even browning, as ovens often have hot spots.
Avoid opening the oven door frequently, as this can lower the temperature and affect baking time. If the crust is browning too quickly, tent it loosely with aluminum foil. The filling should be bubbling, especially around the edges, indicating it’s heated through. A knife inserted into the center should come out clean, or with just a little moisture for fruit pies.
Troubleshooting Common Issues
Solve common pie problems like soggy bottoms or cracked crusts! This section provides practical fixes for uneven baking and ensures pie perfection every time.
Soggy Bottom Crust Solutions
A soggy bottom crust is a frequent frustration when baking pies, even with convenient frozen options like Marie Callender’s. Several factors contribute to this issue, and thankfully, there are effective solutions. First, ensure the oven is fully preheated; a hot oven helps set the crust quickly. Placing the pie on the lowest rack can also provide more direct heat to the bottom.
Blind baking the crust partially before adding the filling is another excellent technique. This involves baking the crust with pie weights or dried beans to prevent puffing and ensure a firm base. Another trick is to brush the bottom crust with a lightly beaten egg white before filling; this creates a moisture barrier. Finally, avoid overly wet fillings, and consider using a thickening agent like cornstarch to absorb excess liquid during baking. Addressing these points will dramatically improve your pie’s texture!
Cracked Crust Prevention
Preventing a cracked pie crust requires understanding the factors that cause it. Rapid temperature changes are a primary culprit; avoid placing a frozen pie directly into a hot oven. Allowing the pie to thaw slightly, even for just 15-20 minutes, can make a significant difference. Ensuring adequate moisture in the crust is also crucial. A dry crust is more prone to cracking, so brushing with an egg wash or milk before baking helps maintain its flexibility.
Furthermore, avoid overworking the dough when preparing a homemade crust, as this develops too much gluten, leading to toughness and cracking. If cracks do appear, gently press them back together during baking. Using a pie shield or aluminum foil strips around the edges can also protect them from excessive heat and prevent splitting.
Uneven Baking Fixes
Addressing unevenly baked pies often involves understanding your oven’s hot spots. Rotating the pie halfway through the baking process is a simple yet effective solution, ensuring all sides receive equal heat exposure. If one area browns faster than others, employ a pie shield or strategically placed aluminum foil strips to protect the over-browning sections.
Checking oven temperature accuracy with an oven thermometer is vital; fluctuations can cause uneven results. For particularly stubborn cases, lowering the oven temperature slightly and extending the baking time can promote more consistent cooking. Ensure the pie is placed on a center rack for optimal heat circulation. A properly preheated oven is also essential for even baking.
Beyond the Basics: Pie Variations
Explore specific baking adjustments for Marie Callender’s Chicken Pot Pies, Pecan Pies, and Lemon Pies, maximizing flavor and achieving perfect results every time!
Chicken Pot Pie Specifics
Baking a Marie Callender’s Chicken Pot Pie requires a slightly nuanced approach. Ensure the pie is thoroughly thawed for optimal crust flakiness and even filling temperature. Preheat your oven to 375°F (190°C) and position the rack in the center; Place the frozen pie directly onto the baking sheet – no preheating needed!
Bake for approximately 55-65 minutes, or until the crust is golden brown and the filling is bubbling vigorously. To prevent over-browning of the crust, consider shielding the edges with foil during the latter half of baking. Allow the pie to rest for 10-15 minutes before serving, as the filling will be extremely hot. This resting period also allows the filling to set slightly, making for easier slicing and a more enjoyable eating experience. Enjoy this comforting classic!
Pecan Pie Baking Nuances
Marie Callender’s Pecan Pie benefits from careful baking to achieve a perfectly set filling and a beautifully browned crust. Begin by preheating your oven to 375°F (190°C) and positioning the oven rack in the center. Thawing isn’t strictly necessary, but a partially thawed pie may bake more evenly.
Bake for 50-60 minutes, closely monitoring the crust. Pecan pie filling can take time to set, so look for a slight jiggle in the center – it will continue to firm as it cools. Shielding the crust edges with foil is highly recommended to prevent burning, given the high sugar content. Once baked, let the pie cool completely (several hours) before slicing, as this allows the filling to fully solidify. A chilled pecan pie offers the best texture and flavor!
Lemon Pie Baking Tips
Baking Marie Callender’s Lemon Pie requires a slightly different approach than other varieties. Preheat your oven to 350°F (175°C) and ensure the pie is placed on a baking sheet to catch any potential filling spills. While baking from frozen is possible, a partially thawed pie often yields a more consistent result.
Bake for approximately 45-55 minutes, or until the crust is golden brown and the filling is set but still slightly soft in the center. The meringue topping will brown beautifully, but watch closely to prevent over-browning. Cooling is crucial – allow the pie to cool completely at room temperature, then refrigerate for at least two hours before serving to allow the filling to fully set and the flavors to meld.
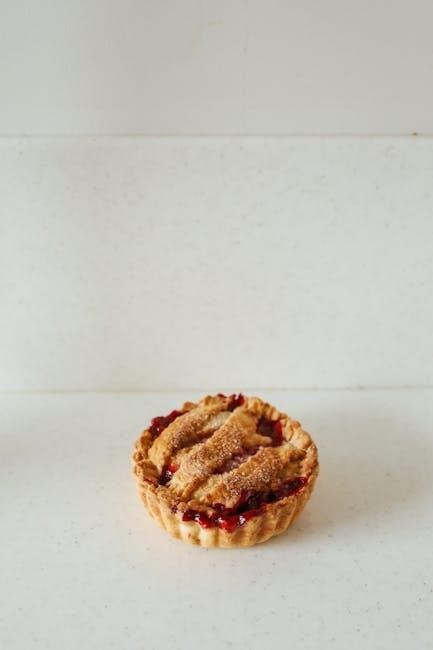
Recreating Marie Callender’s Crust at Home
Explore recipes inspired by Marie Callender’s flaky crust! Learn techniques for homemade perfection, or utilize convenient pre-made options for a quick dessert.
Homemade Pie Crust Recipes (Inspired by Marie Callender’s)
Achieving a crust reminiscent of Marie Callender’s requires attention to detail. Start with 2 ½ cups all-purpose flour, chilled, and combine with 1 teaspoon salt. Cut in 1 cup (2 sticks) of very cold unsalted butter and ½ cup of shortening using a pastry blender or your fingers until the mixture resembles coarse crumbs.
Gradually add 6-8 tablespoons of ice water, mixing until the dough just comes together. Avoid overmixing! Form the dough into a disc, wrap in plastic, and chill for at least 30 minutes. For a truly flaky crust, laminate the dough – fold, roll, and chill repeatedly. This creates layers of butter and dough. Remember, cold ingredients are key to a tender, flaky result, mirroring the quality found in Marie Callender’s pies.
Using Pre-Made Pie Crusts
For convenience, pre-made pie crusts offer a viable alternative to homemade. When using refrigerated crusts, allow them to sit at room temperature for about 15-20 minutes to become more pliable, making them easier to unroll and fit into your pie dish. Gently press the crust into the dish, avoiding stretching, which can cause shrinkage during baking.
Crimp the edges decoratively or simply press with a fork to seal. Blind bake the crust if your recipe calls for it – prick the bottom with a fork, line with parchment paper, and fill with pie weights or dried beans before baking. Pre-made frozen crusts should be thawed according to package directions before filling and baking, ensuring a golden-brown and structurally sound base for your pie.
Tips for a Flaky Homemade Crust
Achieving a flaky crust hinges on keeping ingredients cold. Use ice water and chilled butter (or shortening) cut into small cubes. Avoid overmixing the dough; aim for a shaggy texture. Overworking develops gluten, resulting in a tough crust. Gently gather the dough and form it into a disc, then wrap and refrigerate for at least 30 minutes – or even overnight – to allow the gluten to relax.
When rolling, lightly flour your surface and use a gentle touch. Folding the dough over itself creates layers, contributing to flakiness. Finally, ensure your oven is properly preheated for optimal results, and consider chilling the assembled pie before baking to further enhance the flaky texture.
Serving and Storage
Enjoy Marie Callender’s pie best when cooled slightly, cut into portions, and served fresh. Store leftovers refrigerated, and reheat gently for optimal flavor!
Cooling and Cutting Instructions
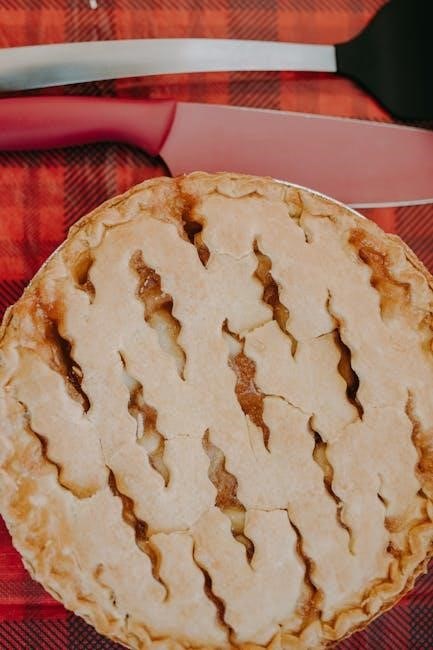
Allowing your Marie Callender’s pie to cool properly is crucial for maintaining its structural integrity and enhancing the overall enjoyment. Immediately after removing the pie from the oven, let it rest on a wire rack for at least two to three hours. This allows the filling to set, preventing a runny mess when sliced. Resist the temptation to cut into it prematurely!
For clean, precise cuts, use a sharp, slightly warmed knife. Dip the blade in hot water and wipe it dry between each slice. This minimizes sticking and ensures neat portions. A gentle sawing motion is preferable to pressing down forcefully, which can compress the crust. Serve and savor each delightful bite of your perfectly baked Marie Callender’s pie!
Proper Storage Methods
To maintain the quality of your Marie Callender’s pie, proper storage is essential. If you have leftover pie, cover it loosely with plastic wrap or aluminum foil, ensuring it doesn’t directly touch the crust. Refrigerate immediately after cooling completely. Properly stored, a fruit pie will generally stay fresh for up to three to four days.
For longer storage, freezing is an option. Wrap the cooled pie tightly in plastic wrap, followed by a layer of aluminum foil. Frozen pie can last for up to a month, though the crust’s texture may slightly change upon thawing. Avoid storing at room temperature for extended periods to prevent spoilage and maintain optimal flavor.
Reheating Leftover Pie
When reheating Marie Callender’s pie, preserving the crust’s texture is key. For individual slices, a microwave works well – heat for 30-60 seconds, checking frequently to avoid a soggy crust. For a larger portion or the whole pie, oven reheating is recommended. Preheat your oven to 350°F (175°C).
Cover the pie loosely with foil to prevent excessive browning, and bake for 15-20 minutes, or until warmed through. Removing the foil during the last few minutes can help crisp up the crust. Avoid prolonged heating, as it can dry out the filling. Enjoy your revived slice of comforting pie!